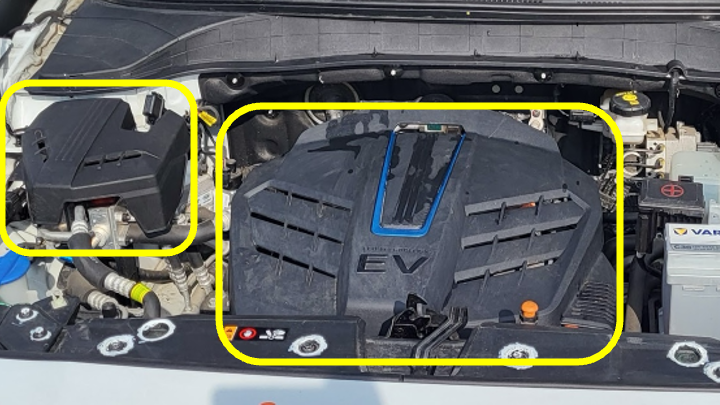
Frunk Installation Guide for Hyundai Kona
1. Remove the 2 plastic covers
The covers are secured in rubber gaskets and can be removed by pulling them upwards.
Don’t worry if they don’t come off easily; pull them confidently — nothing will break. We recommend storing them for possible future use.
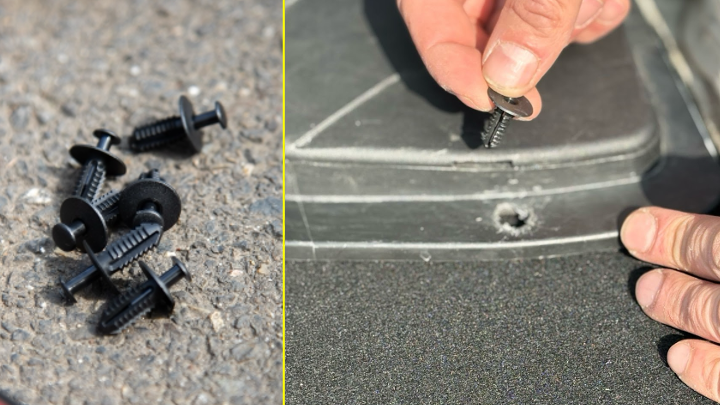
2. Remove 4 clips
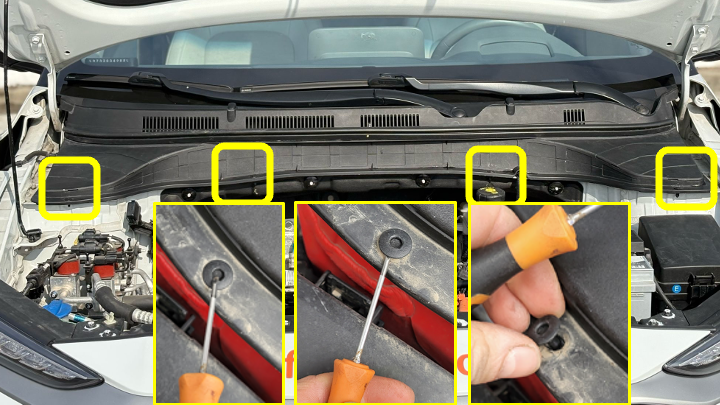
There are 4 clips on the hood grille that will be replaced with longer ones provided in the package. Press the center pin with a screwdriver and then remove the clips.
It is recommended to keep the original 4 clips.
3. Remove the screws
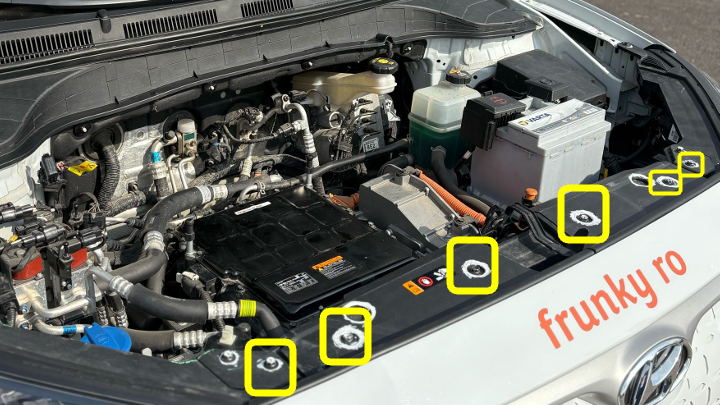
Using the included 10mm wrench, remove the indicated screws.
4. Remove the windshield washer reservoir cap
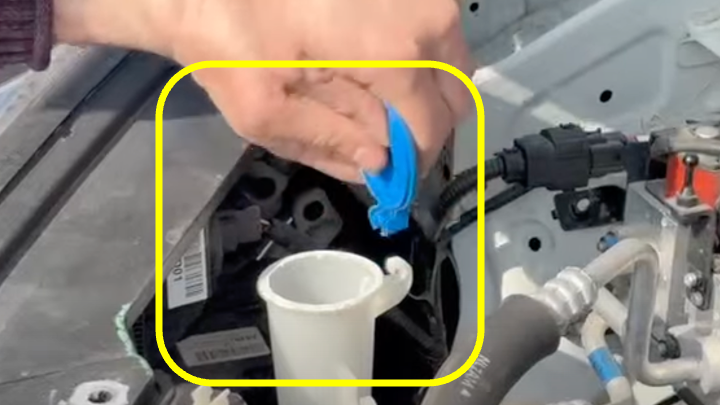
Remove the cap. It will be reinstalled after mounting the frunk.
5. Position the frunk
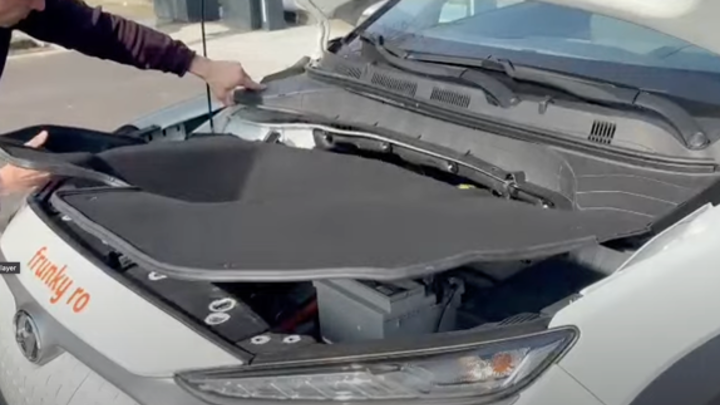
Lift the plastic cover from the windshield and insert the frunk between it and the car body.
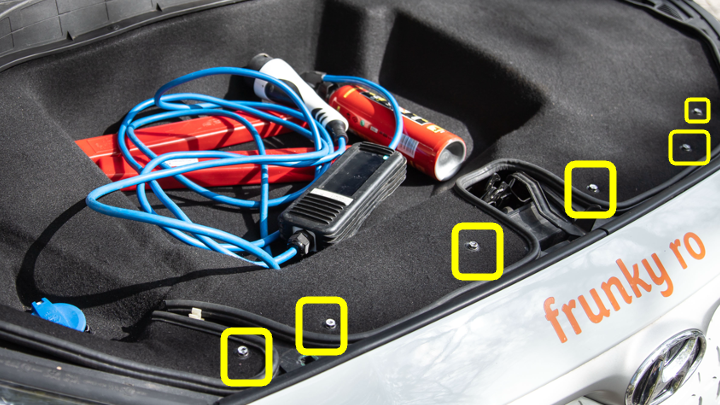
6. Secure the grille with 4 clips
Install the 4 clips provided in the package (Keep the original ones for possible future use).
7. Tighten the screws
Tighten the screws using the 10mm wrench.
Do not overtighten; they should be fastened with a force of maximum 10N.
8. Apply the hood seal
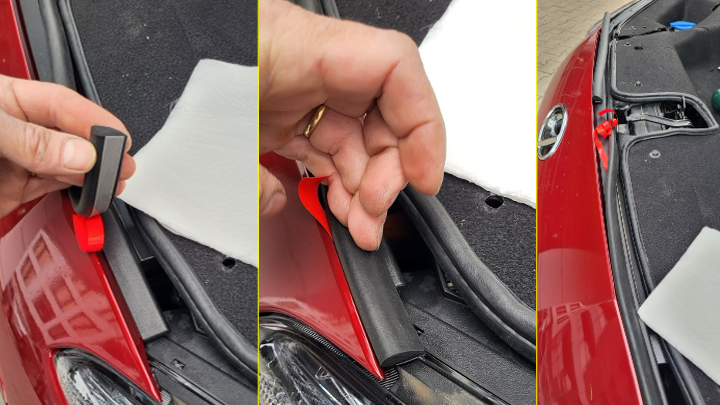
Stick the hood seal.
The surface must be dry (avoid moisture) and clean (free of oil, dust, and grease). To ensure proper adhesion, it is recommended to clean with isopropyl alcohol. Recommended installation temperature: 17-35°C. Do not touch the adhesive side of the seal. Gradually remove the protective film from the adhesive, about 10 cm at a time, as you attach the rubber seal to the hood. Press firmly on the seal after fixing it (recommended pressure: 20-50 N/cm).
9. Remove the hood bumps
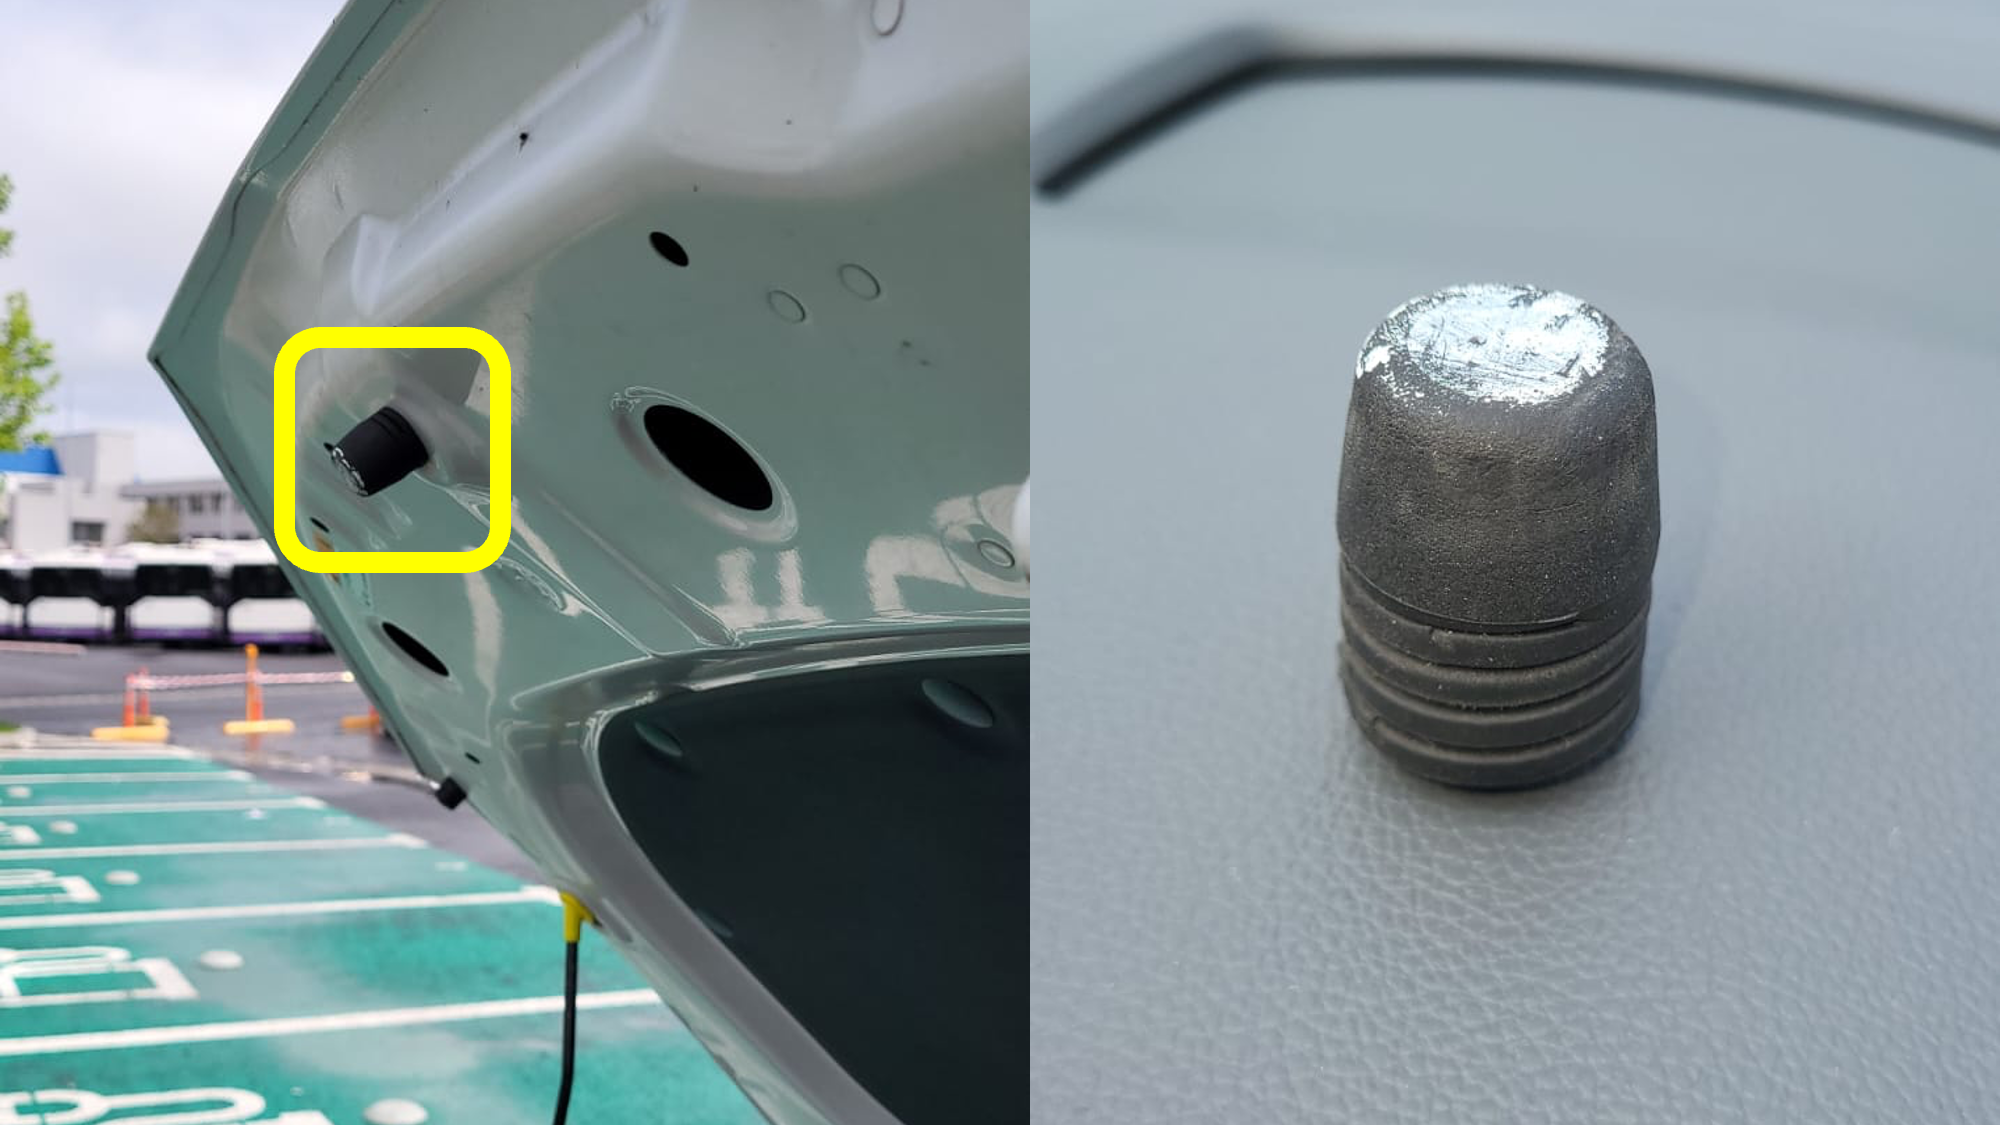
Unscrew the 2 rubber bump stops. They are no longer needed, as the sealing is now done by the weatherstrips.
Keep the 2 parts for future use